Hey, everyone, I feel like this thread has stalled a bit people seem to be just going encircles in the discussion trying to add something new just for it to have been mentioned before (including me! haha).
So in order to help push the discussion here's a FAQ and a new topic to start chatting about.
---------------------------------------------------------------------------
FAQ:
Q: LoST & the RE:
A: You cannot teleport into a garrison, and teleporting out is done by leaving the garrison, then LoST the unit (LoST happens at the end of the movement, you must move out during if you want to LoST the unit).
Q: Can I bring more than 1?
A: Nope, Battletome dictates 1 per army.
Q: Can I choose not to place it?
A: Nope, battletome dictates if you have 1, you must place it.
Q: Auto garrisoning and territory?
A: Even if the RE is wholly in your territory you must still adhere to any restrictions of the battleplan in terms of spacing from the opponent. ie battle plan says set up 9" away, RE is 6" away, you may not auto garrison it on set up.
From Designers commentary:
Q: Can enemy units garrison a Realmshaper Engine?
A: Yes.
Q: Can I cast endless spells with a friendly Seraphon Wizard that is garrisoned in a Realmshaper Engine?
A: Yes.
Q: If the answer to the above is yes, what happens if that endless spell is a Balewind Vortex?
A: The Balewind Vortex model is set up within 1" of the Realmshaper Engine and more than 3" from any enemy models. The caster is then removed from the garrison and placed on top of the Balewind Vortex model.
Am I missing something? Please let me know!
---------------------------------------------------------------------------
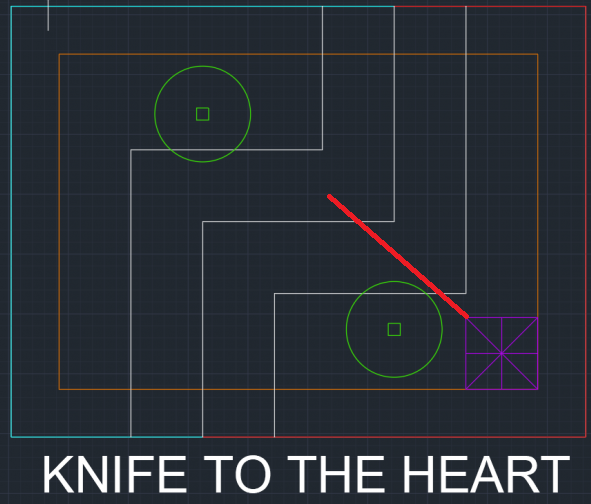
New Focus, lets talk about a specific Battle Plan, "Knife to the Heart" Let's abbreviate it to 'KttH'.

I see 4 general locations:
KttF:A
The center of the board, Mostly using it as LoS Blocking & movement hurdle between the two objectives. I wouldn't plan on getting to use the MW ability but potentially forces a fight away from the objectives for more mobile troops to take them.

-----
KttF:B
Catty-corner to the objectives. Which side doesn't really matter, as much as the relative position to objectives. This gives us the most flexibility for snipping/using our spell caster. It will do the same thing for armies with heavy range, assuming they bring squads small enough to fit in it. Otherwise, for CC armies it's in a pretty awkward position even for support heroes.

-----
KttF:C
In front of the objective. This makes a kill zone for whoever gets it on the objective. I would say this position is a bad idea unless you are feeling very lucky. (Prove me wrong, tell me why it is good!)

-----
KttF: D
Behind the objective. Makes the same kill zone, but would make us farther away from the action, and other terrain this is probably the worst place to put it regardless of army composition. (Prove me wrong, tell me why it is good!)

-----
My idea for responses is something like:
Battle Plan:
Placement Location:
Good for:
and/or
Bad for:
----
Sample, but still real views up for discussion:
Battle Plan: KttF
Placement Location: B
Good for:
A small contingent of magic, a lone slann or oracle hiding in it will get us the MW and also allow them to still do their magic shenanigans. I would probably not dedicate other support heroes to them.
I would say it would be better for Starborne then Coalesced due to the higher maneuverability that LoST allows us.
and/or
Bad for:
Opponents with small units of elite snipers. They'll get to do with it exactly what we want to. (some SCE lists, limited knowledge here, what others?)