Ripperdactyl
LordBaconBane
Well-Known Member
- Messages
- 475
- Likes Received
- 1,244
- Trophy Points
- 93
Hey everyone.
For my first post today I'd like to show off my new magnetized Stegadon for all loadouts. I put a lot of work into this guy so I hope you like it.
If you wish to replicate what I did with the Stegadon, you'll need:
- 1mmx1mm magnets (about 5). These magnets will be used for your skinks.
- 2mmx1.5mm (2mmx1mm works too) magnets (about 20). These magnets will be used on the Stegadon bits as they hold much stronger than the 1mmx1mm.
Stegadon Loadouts


Where to magnetize
Stegadon magnetiztion
You're going to want to use the 2mmx1.5 on all the different Stegadon pieces.

and then apply magnets on the hawdah.

I had to trim down some of the horns to make it all fit, but once you apply the pieces on you don't notice they are trimmed.
Skink magnetizing
For the skinks, I applied one magnet in their feet. I found one 1mmx1mm magnet was enough to cling to the 2mmx1.5mm magnets. The only exception is the Skink Chief that has two magnets in his feet. I was considering on putting in a magnet for the skinks foot on the crossbow but decided not too in the end.
What isn't magnetized?
")
For my first post today I'd like to show off my new magnetized Stegadon for all loadouts. I put a lot of work into this guy so I hope you like it.
If you wish to replicate what I did with the Stegadon, you'll need:
- 1mmx1mm magnets (about 5). These magnets will be used for your skinks.
- 2mmx1.5mm (2mmx1mm works too) magnets (about 20). These magnets will be used on the Stegadon bits as they hold much stronger than the 1mmx1mm.
Stegadon Loadouts
Where to magnetize
Stegadon magnetiztion
You're going to want to use the 2mmx1.5 on all the different Stegadon pieces.
and then apply magnets on the hawdah.
I had to trim down some of the horns to make it all fit, but once you apply the pieces on you don't notice they are trimmed.
Skink magnetizing
For the skinks, I applied one magnet in their feet. I found one 1mmx1mm magnet was enough to cling to the 2mmx1.5mm magnets. The only exception is the Skink Chief that has two magnets in his feet. I was considering on putting in a magnet for the skinks foot on the crossbow but decided not too in the end.
What isn't magnetized?
- The Skinks Priest is glued to the Engine piece
- Two skinks at left and right of the front part of the howdah are glued on.
- Nothing in the terrain is magnetized.
- Triple check your magnets before gluing them in. I put two magnets in the wrong way and digging them out takes a lot of times and can destroy painted areas.
- Plan ahead. Check what parts you want to magnetize and do them separate.
- 2mmx1mm magnets are OK to use, but 2mmx1.5mm magnets do hold a bit stronger.
")


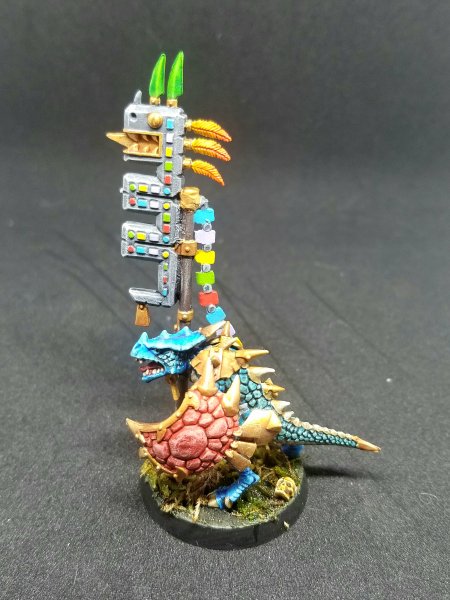
 I'm very happy how the yellow turned out.